Q: What kind of basic cordless drill do you suggest for home use? I have a 12-volt model bought in 2010, but it’s not as powerful as it used to be.
A: There are a number of good brands out there, so there’s lots to choose from. You can get a very good basic 18- or 20-volt homeowner-grade drill for $100. You could spend $200 or $300 for a better model that’s stronger, longer lasting, more powerful and with a couple of batteries as part of a kit. Ryobi is one brand that combines a lot of value at economical prices. Craftsman recently came out with a very nice 20-volt cordless drill for $100. Your old drill has nickel cadmium batteries so you’ll notice a big jump in power and run time because of the lithium-ion batteries found in all cordless power tools these days. To learn more about choosing and using a cordless drill, watch my video tutorial at baileylineroad.com/how-to-choose-a-cordless-drill.
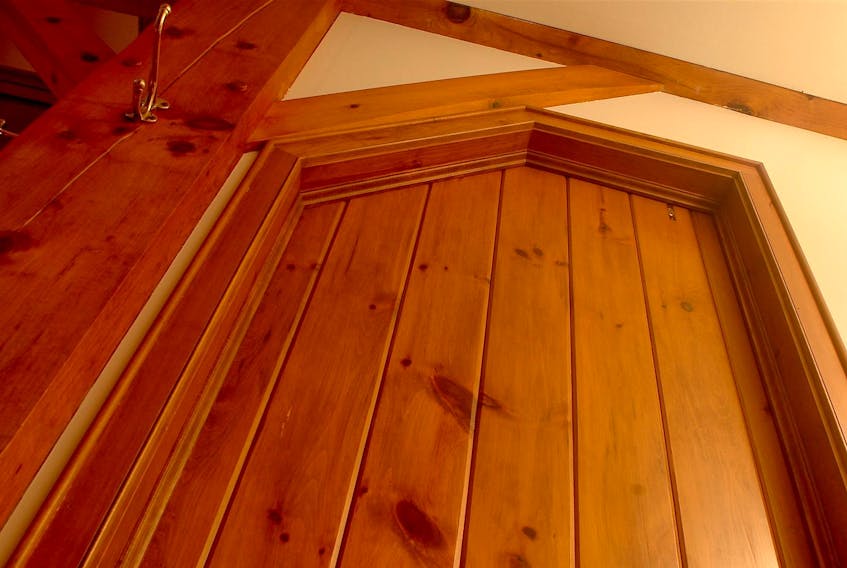
Trim installation tips
Q: What should I think of a contractor who wants to fasten eight-inch-wide Douglas fir exterior window trim using stainless steel screws? Not the nicest look in my opinion. He also wants to do the same thing with interior trim.
A: The idea of using screws to attach high-end wood trim is barbaric. I see way too much of this kind of tasteless nonsense done by contractors who don’t seem to understand the basics of beauty. My own preference is to minimize the appearance of fasteners or completely eliminate visible fasteners altogether. The best approach I know of involves using stainless steel 23-gauge pins to secure trim that has some glue applied to the back face. This works indoors and outside. Because 23-gauge pins are so small in diameter, they pretty much disappear after installation. They have no head, but they hold trim surprisingly well.
For exterior trim, use a high-end construction adhesive on the back face of the trim (PL Premium is my favourite by far), with pins used to hold the pieces in place. The very best approach involves joining the trim into complete frames using pocket screws at the corners, then install these four-sided frames over the windows. It’s faster than piece-by-piece trim installation and the joints never open up in time.
Mould remediation scam
Q: Am I being scammed by a mould expert? I found a 24” x 24” area of discolouration on my garage ceiling after a roof leak was discovered and repaired right away. One contractor wants to cut out the area and replace the drywall. That’ll cost $1,200. Another says I need $4,000 of mould remediation work that will take three days of not using the garage. I have no technical knowledge and I’m afraid of being cheated.
A: You’re right to be concerned because that $4,000 estimate is crazy. If you’re replacing the mouldy drywall, then presumably there’s no need to treat the remaining areas that have no mould. Even the $1,200 is out of line for drywall replacement. Also, it’s quite easy to kill mould yourself when it appears in a relatively small area like you have. Using a registered fungicide on the mould would kill it completely. Judging by the photos you sent, I don’t think you even need to replace the drywall. Wait for things to warm up in spring, kill the mould (Concrobium Mold Control is the best product I know of for this), then repaint. I think you’ll find the discolouration completely gone. Use a stain-blocking primer such as Zinnser’s B-I-N and you’ll be pleased.
Steve Maxwell is a syndicated home improvement and woodworking columnist who has shared his DIY tips, how-to videos and product reviews since 1988.